
Section One: Creating our second MDL table
In section one we are going to validate the data and then create our second MDL table which we we will use to route access_combined data into.
Validating the problem
First part of this lab is to check the data coming into Splunk is actually hitting the DDAS index.
- From your Splunk Cloud console.
Click the Splunk cloud logotop left-hand side. - Next
click on Search & Reportingapp on the left-hand menu. Adjust your timerange picker to last 15 minutesRun the following searchto view our web access logs
index="access_combined"See example output below.
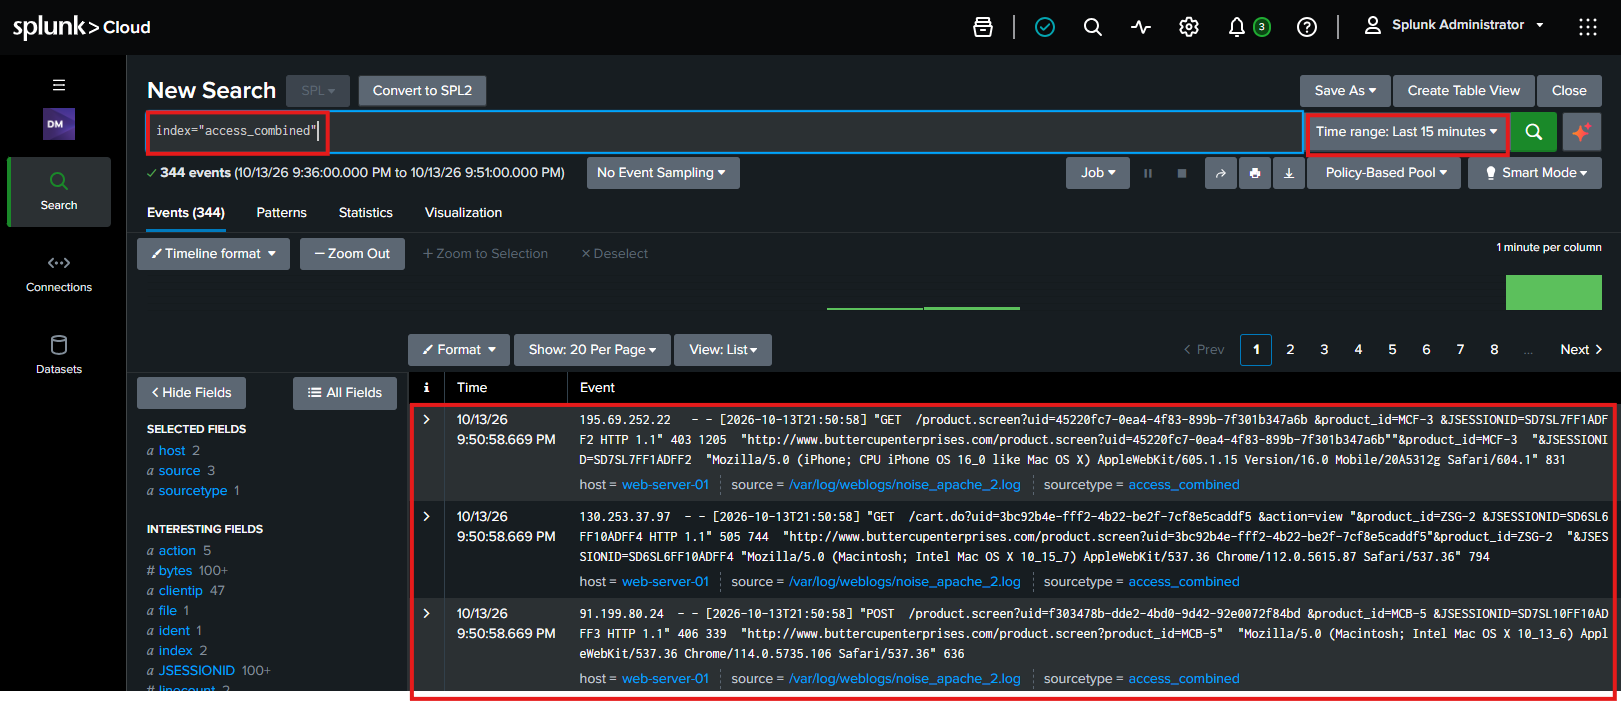
Now that we have confirmed that. Let's create a MDL raw storage destination to route our data to.
Creating a new Machine Data Lake Dataset
Click the Splunk Cloud logoagain on the top left-hand side.Click on Data Management appon the left-hand menu.Click the Datasets optionon the left-hand menu.
From here we have can see all of the datasets from previous labs. Let's create our second MDL catalog.
Click the blue Create dataset button
Like before there are lots of options here. Select the Machine Data Lake (MDL) option. See example below
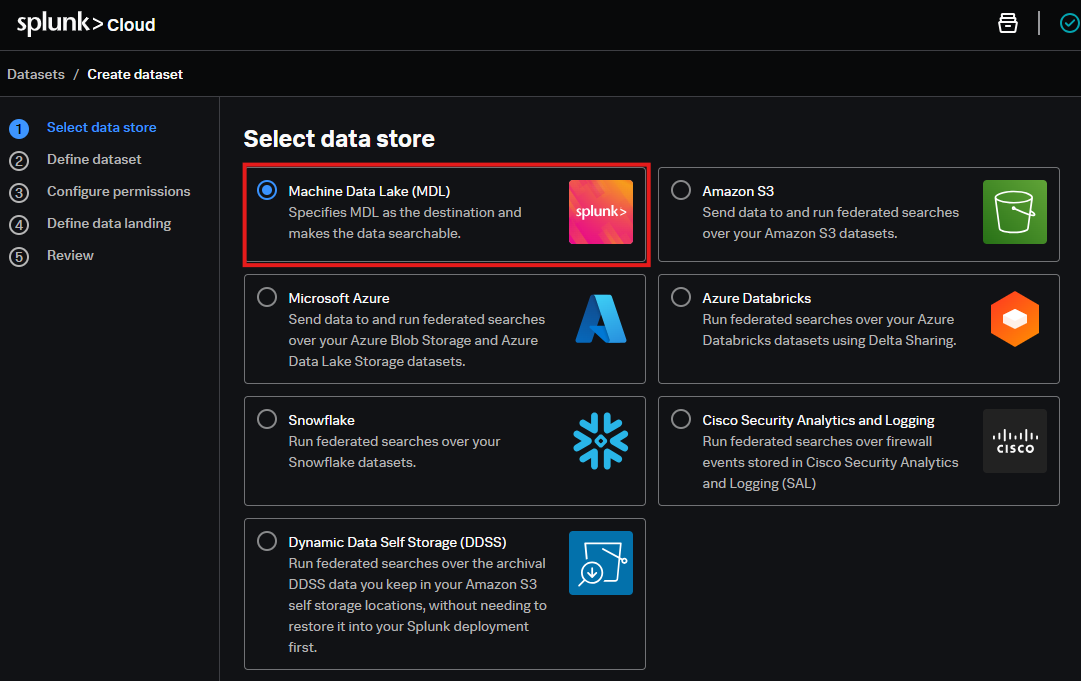
Click Nextwhen ready.- Similar to creating other datasets, we need to enter important information for our MDL dataset.
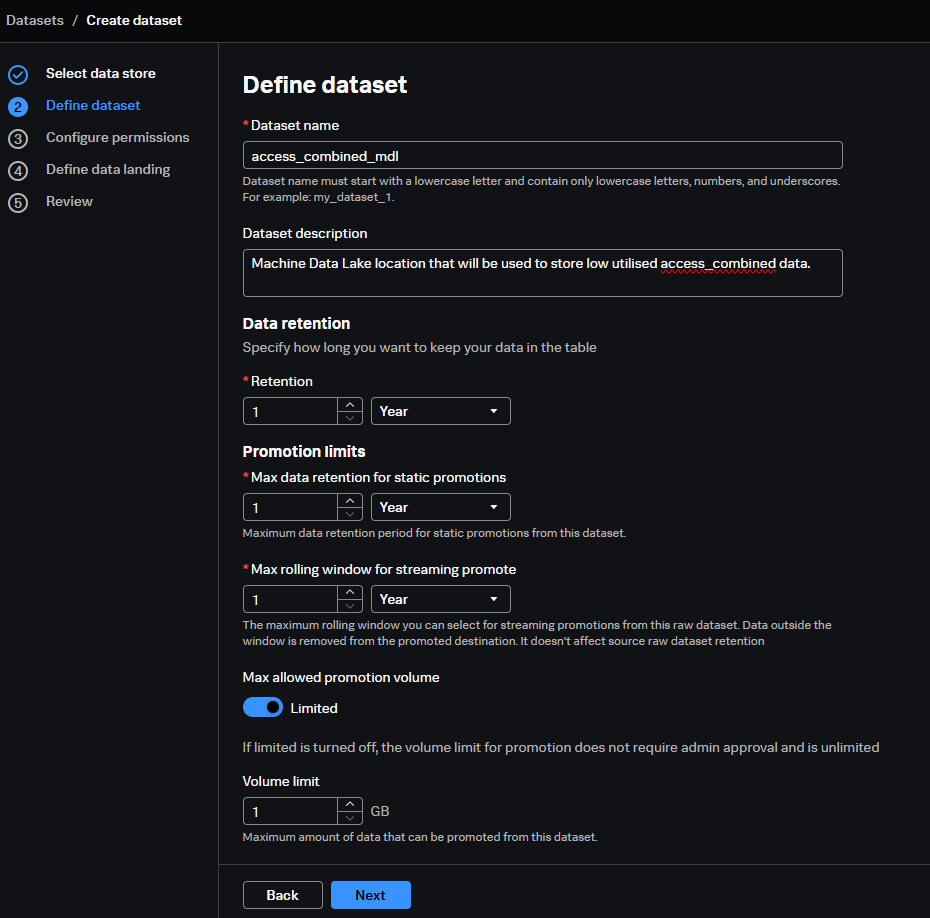
Fill in the details as required below.
- Dataset Name:
access_combined_mdl - Dataset description:
Machine Data Lake location that will be used to store low utilised access_combined data. - Data retention options:
leave as is - Promotion Limits:
leave as is - Max rolling window:
leave as is - Max allowed promotion volume:
leave limited as toggled - Volume limit:
leave as 1GB
See example filled out MDL dataset definition:
Click nextwhen ready.
Like before we want to add access to our sc_admin user to access the MDL raw table we are creating.
- On the configure permissions screen,
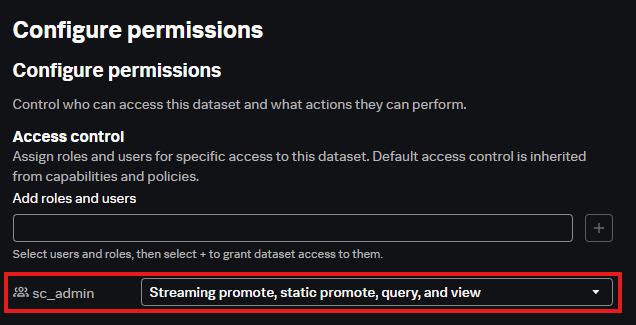
click the dropdown and select the sc_admin role. - Next to the role.
Click the + button next to sc_admin.See example below - From the drop down
select the Streaming promote, static promote, query and view option.
Once selected your screen should look like this:
Click Nextwhen ready.
Last time we create our MDL catalog we configured a sourcetype of Linux_secure so any data that came in with Linux_secure was automatically routed to the catalog. This time we are doing to send data directly to MDL catalog for access_combined via the HEC token. Because of this we don't need to define it here in the MDL setup.
Leave define data landing emptyandClick next.- Review the summary screen and
click Create Datasetwhen ready.
Once created you should now see your new MDL dataset in the list. See example below:
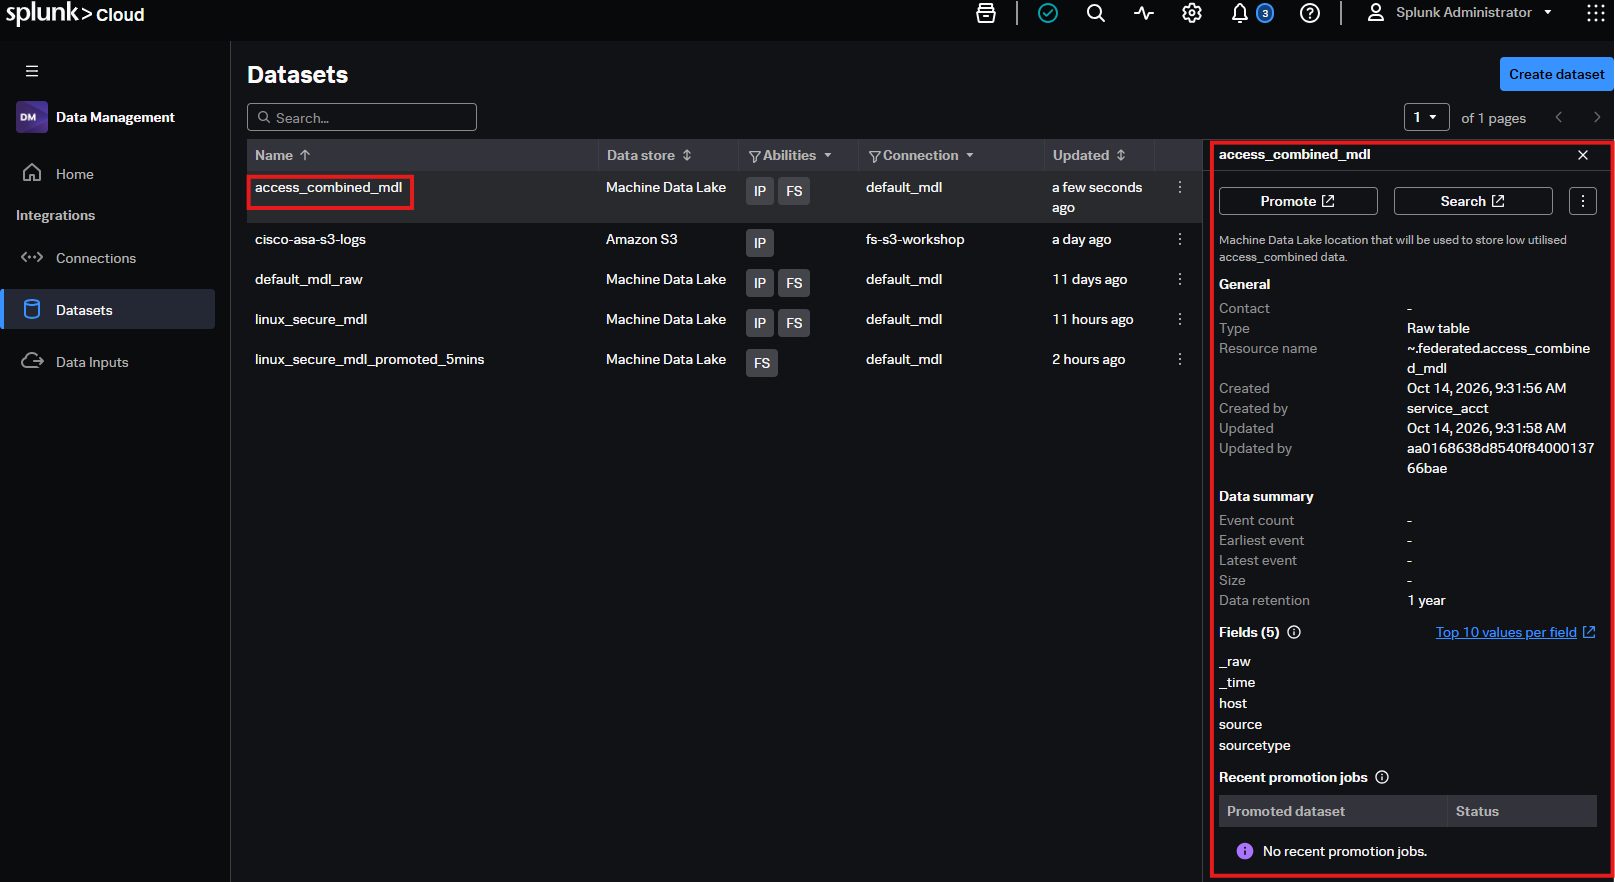
Now we need to get data going into it. But before we do that, let's confirm it is indeed bringing in no data at all
Validate Data is NOT flowing into MDL
- From your Splunk Cloud console.
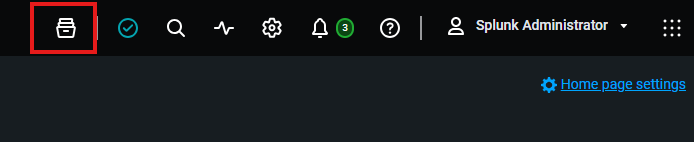
Click the catalog icon near the top right hand sideas shown in previous step. See example below:
We should be able to see our new access_combined_mdl RAW table in the list. See example below:
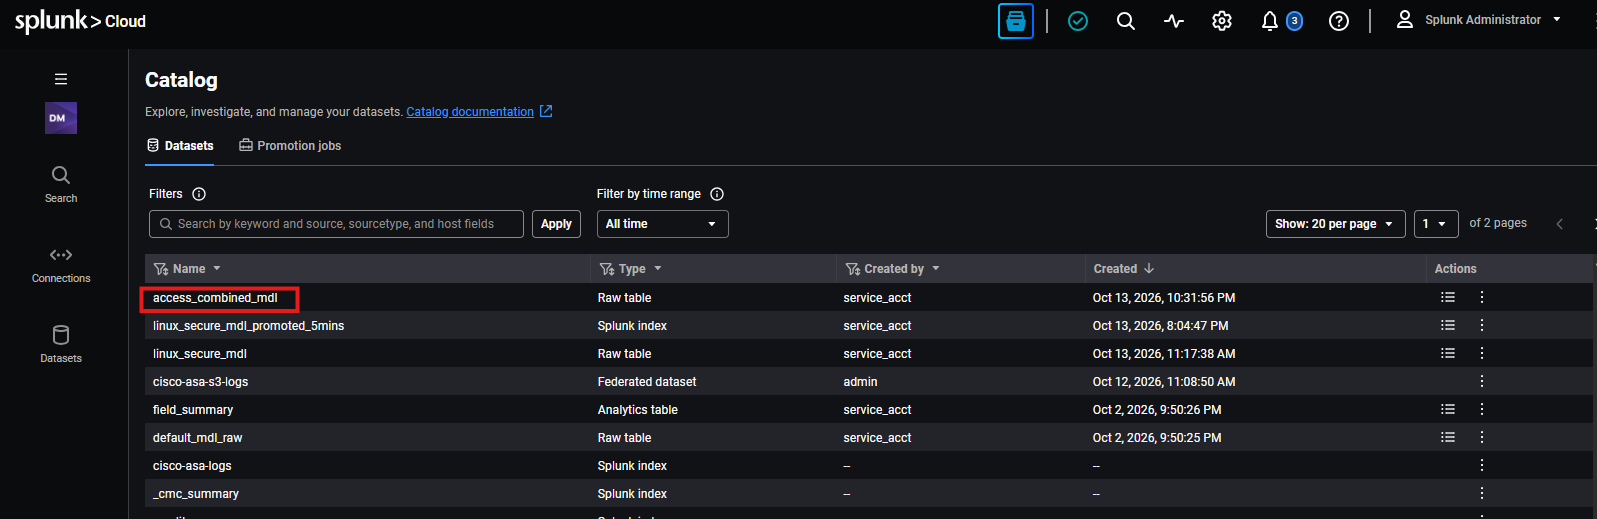
Select the new access_combined_mdl tablefrom the list.
Now we should see a summary of our new MDL table. See example summary below:
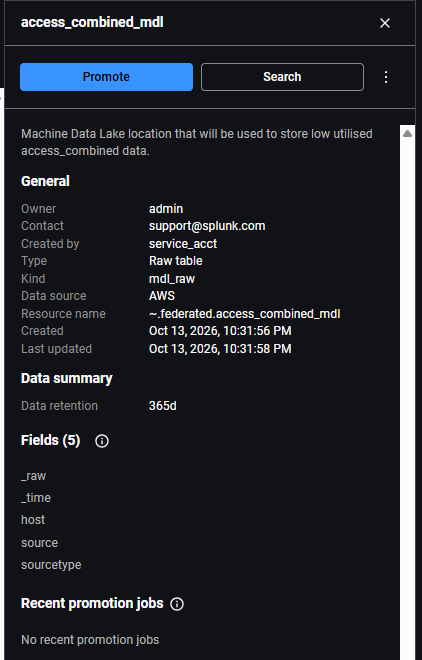
Click the search buttonto open up the search page for the MDL table.
You will see a promotion warning appear. See example below:
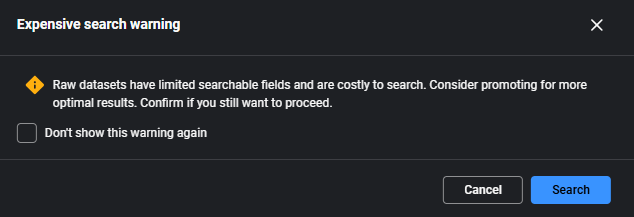
Click the blue search buttonon the warning screen to proceed.
By default the search will already appear as a SPL2 query with a limit of 10 results. You should see No results yet found. See example below:
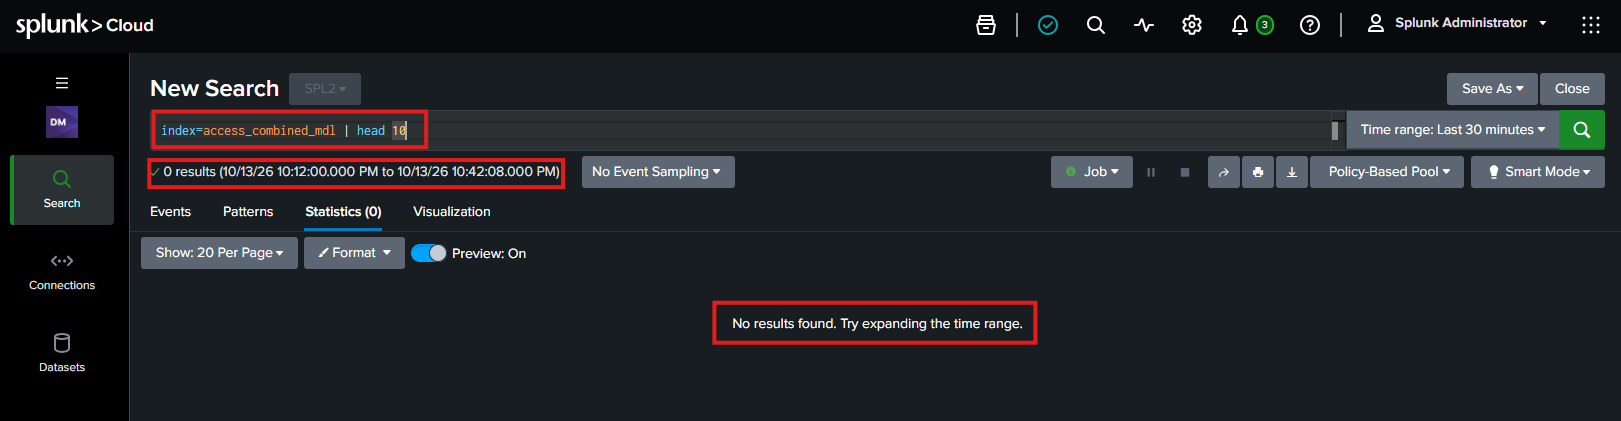
This has just confirmed we don't have any data coming in to the MDL. Currently its a giant container waiting for data.
Let's now route data into it via a different method than what we did before.
Route Data into MDL via HEC
Click the cog icon near the top right-hand side.- Scroll down and
select Data inputsunder the DATA section. Select HTTP Event Collectlink.
Your lab environment may look different to mine. So keep that in mind with screen shots!
You will see some HEC token here in the list. There should be one for our access_combined data.
- Select the access_combined HEC token link as shown below:

You will see a few options here on the screen. Here we want to adjust the index where the data is being routed too.
HEC allows you to assign multiple indexes to a single HEC token. This is basically saying which indexes does this HEC token have permission to send data too.
- In the section which says available indexes,
find and select our new ~.federated_access_combined_mdl index.
This should move it from the available indexes to the Selected indexes section.
Click the access_combined index on the Selected indexes.
This should now do the reverse and move the original access_combined DDAS (tsidx) index off.
You may see the default index section change when you de-select the access_combined index. This is because there is now only one index in the selected indexes so the default changed to that.
See example screen of HEC token configuration changes.
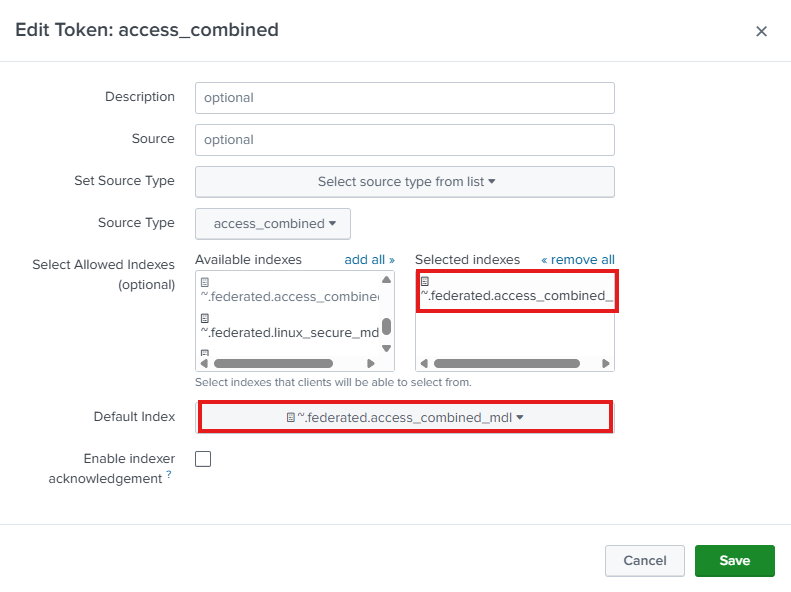
Click Savewhen ready.
Ok, that should now be routing data to the MDL catalog for Access_Combined and no longer routing data to the original access-combined index. Let's test it.
Validating our data routing to MDL catalog and no longer going to access_combined DDAS index
Let's first validate data is no longer going to DDAS.
- Go to the Splunk search an reporting app by
clicking the Splunk Cloud icontop left-hand side. Click the search & reportingapp on the left-hand menu.Run the following search belowwhich will show us last 5 minutes of searches on access_combined.
index=access_combined earliest=-5mWe should see now results. See example below:
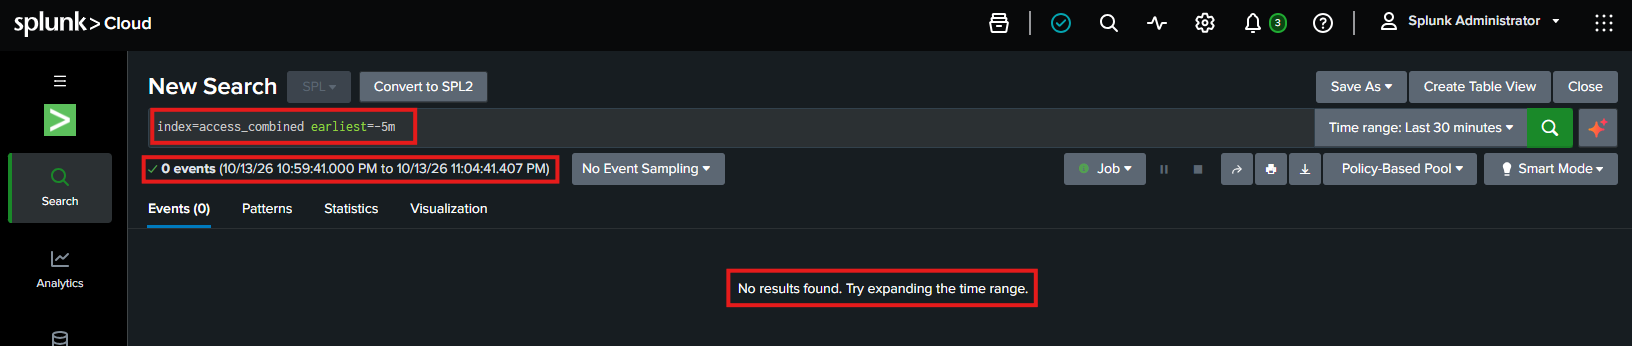
The original data up until we stopped it coming in will still be in the index. Something to keep in mind. You could test this by adjusting that earliest=-5m to something like earliest=-1h
Next let's validate data is going into our new MDL catalog for access_combined.
Select the catalog iconagain from the near top right-hand side.- Again,
select the access_combined_mdl table Click the search buttonagain, followed by thesearch button again on the warning screen.
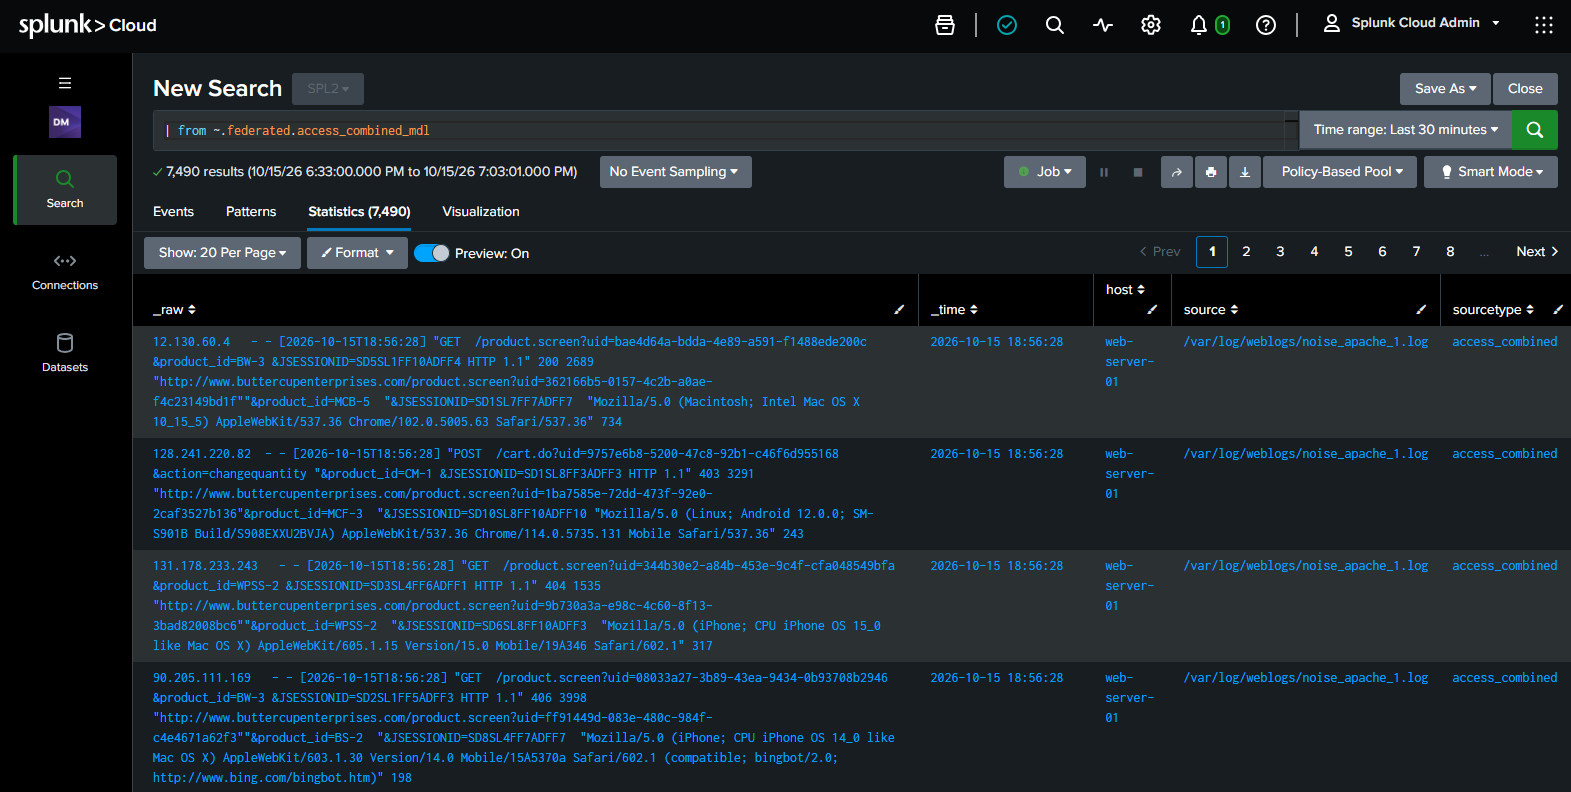
If all went to plan you should now see data coming into the catalog we created!
The data may take around 100 minutes to appear in the data catalog
See example of data below:
Congratulations, that wraps up Lab 5! Now onto our last lab which we look at configuring a Dynamic Data Self Storage archive index using Amazon S3.