
Section One: Creating DDSS Connection in Splunk for Amazon S3
In this section we are going to use Splunk to create a connection to Amazon S3 that our DDSS service can use as an archival solution for our indexes.
Creating a connection
First part of this lab is to check the data coming into Splunk is actually hitting the DDAS index.
- From your Splunk Cloud console.
Click the Splunk cloud logotop left-hand side. - In the left hand menu under app. Click the Manage link as shown below:
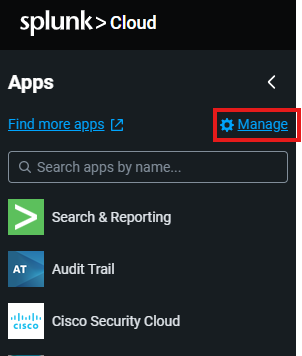
From here we can see a list of all of our apps installed. Its a bit hard to find but there is one for configuring DDSS connections.
- In the box which says "filter by app name"
copy and paste the following inandhit enter:
Self Storage LocationsYou should see an app appear like shown below:
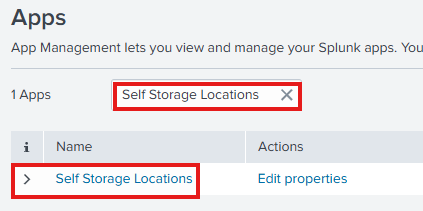
Click the link for the self storage app (under name)to launch it.Select the Green button called New Self Storage Locationon the top right-hand side.
A popup will appear for filling in details for a new Self Storage Location.
- Enter the following details below:
- Title: cc-trans-pii-s3
- Description: Connection to S3 bucket for our DDSS used for the credit card transactions PII data.
Before we fill out the rest of the table we must create an Amazon S3 bucket.
When you go to the AWS console next leave the current Splunk tab open as we will need to copy and paste between the two tabs.
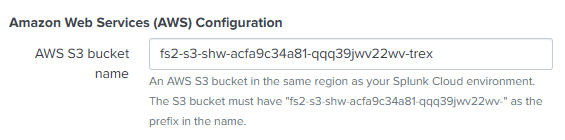
- Note down the section where it says what the S3 bucket has to start (prefix) with. See example below

- Go back to your
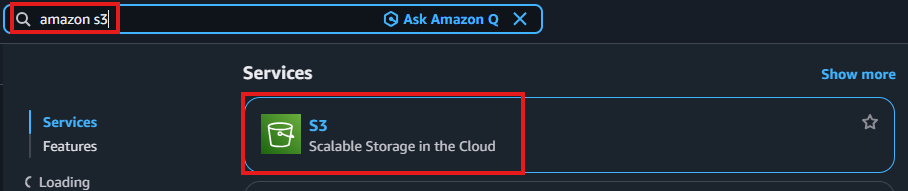
AWS console from earlier in the labs and search for and select Amazon S3.See example below:
- From the Buckets screen click the orange Create Bucket
Enter the name for the bucket using the prefix required and your name.eg fs2-s3-shw-acfa9c34a81-qqq39jwv22wv-trexScroll to the very bottom and click Create bucket.- Go back to you Splunk page and enter in your bucket name in the required section as shown below:
- Leave the AWS S3 bucket folder empty
As part of the process we Splunk will automatically create HIVE partitions folder based on date and sourcetype etc. If you wanted to further add a folder then you could here as well.
Click the green Generate buttonto generate the AWS S3 bucket policy. See example below
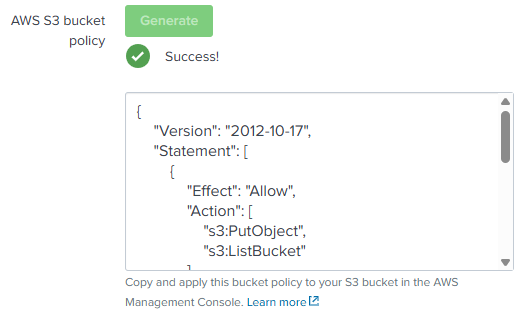
Select inside the box and copy the policy to clipboard.- Back in your AWS console,
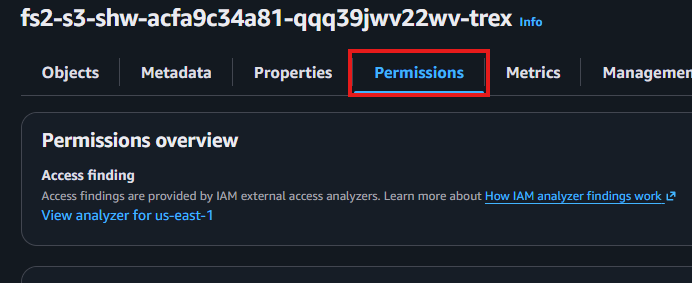
go back to your AWS S3 bucket tab. Select the Permissions tabas shown below:
In the bucket policy box, click the blue edit button on the right-hand side.Paste the bucket policy you copied from Splunk into the editor.See example below
Reminder, all AWS account IDs are blanked out so your screen will look different.
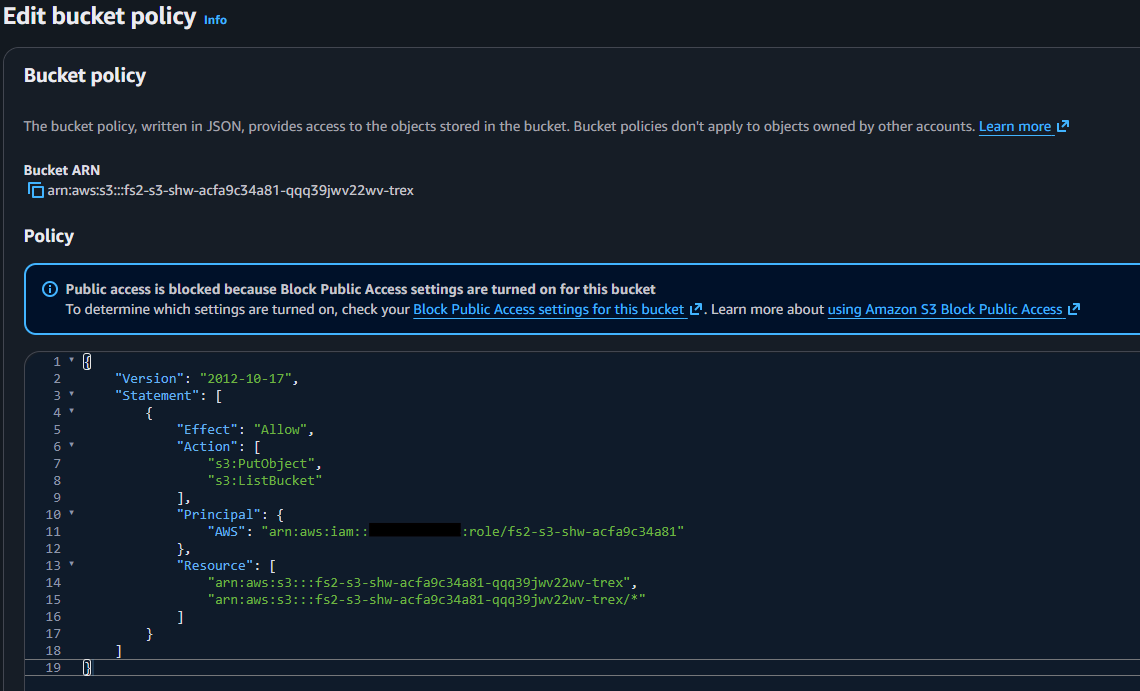
Click save changes when done.- Back on our Splunk tab again. Down the bottom,
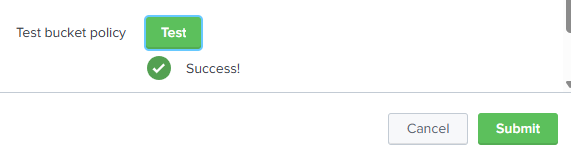
click the green Test button.
This will test that Splunk can write a file into AWS S3. We will show you that soon. See below for an example of successful test.
- Lastly, back in our Amazon S3 tab again.
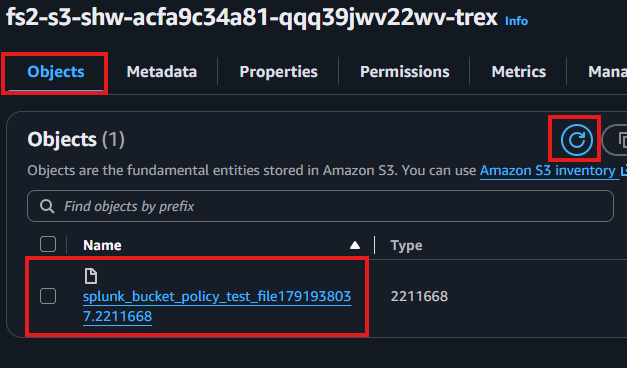
Scroll up and click Objects tab. Hit the refresh button(circle thing as shown below) to see our test file in the bucket.
Back in the Splunk screen you can now click the submit button.
That's it for this Section One. For our last section we will add the DDSS connection to our PII index for archiving.